Thinking about your next summer DIY project? If a new shed is on the cards, you need to start from the ground up by creating a sturdy concrete shed base – luckily, this is easier than you might think.
In this article, we cover how to lay a concrete shed base correctly, including the equipment needed, how much concrete you will require, and a step-by-step guide to laying a concrete base.
How To Build A Concrete Shed Base
A shed base is as important as the shed itself, as not only does it keep your structure level, but it also elevates it away from the ground to prevent rot from damaging the wood. Let’s have a look at the following steps to see how you can easily construct a sturdy shed base with no hitches:
Choose the right location:
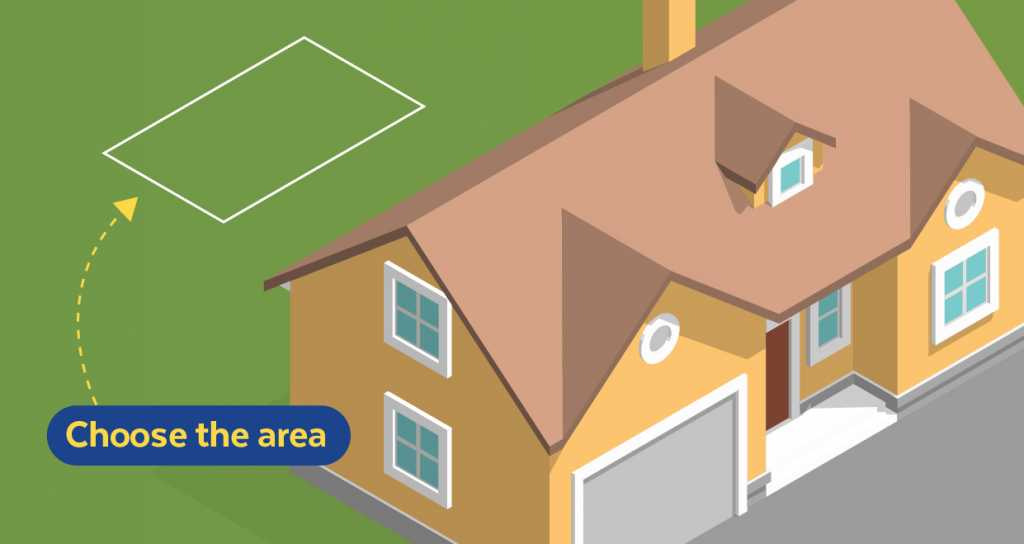
What are you going to use the shed for? The answer to this question should dictate the best location to build. For example, do you need water or electricity supply? Do you want a private, shady spot or do you prefer natural light? Also, ensure the chosen area has enough space for its intended purpose, and remember to leave a gap between the shed edge and any walling or fencing – this will enable easy access for construction and future maintenance.
Level the ground:
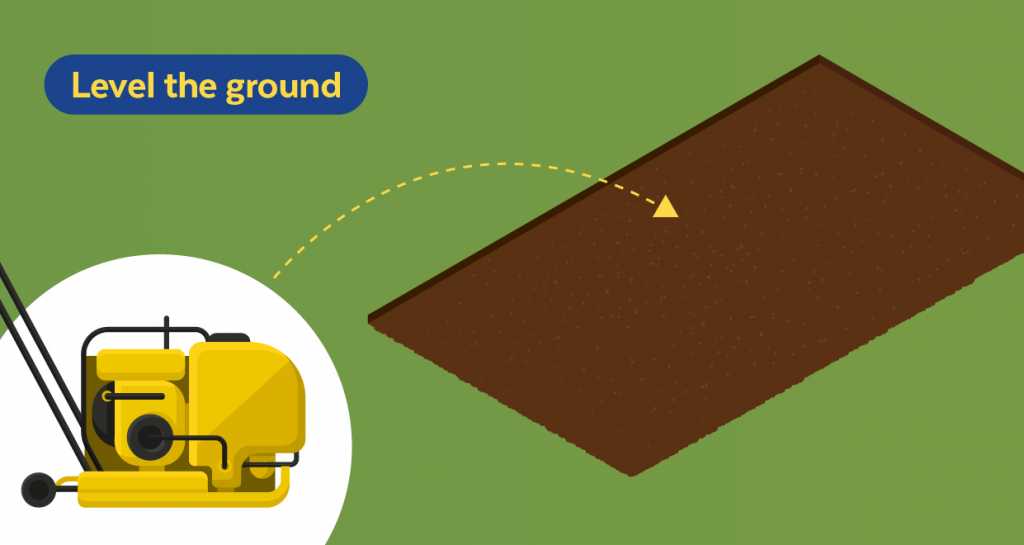
This step is essential, as uneven ground can throw off the structural integrity of the entire project. First, measure out the rough area where the shed will go – use pegs or stakes hammered into the ground at the four corners, and string rope between them. This will mark the area so you have a rough idea of what you’re working with. It’s wise to make the shed base area slightly larger than your shed will be, around two or three inches on each side, to give yourself a little wiggle room. Next, remove all debris, roots, turf and other vegetation. Then, you need to dig out the topsoil to a depth of around 150mm to allow space for both hardcore and concrete. Add the hardcore and rake it flat, ensuring it’s a level and consistent depth the whole way across – you can use an earth rammer for this.
Frame the area:
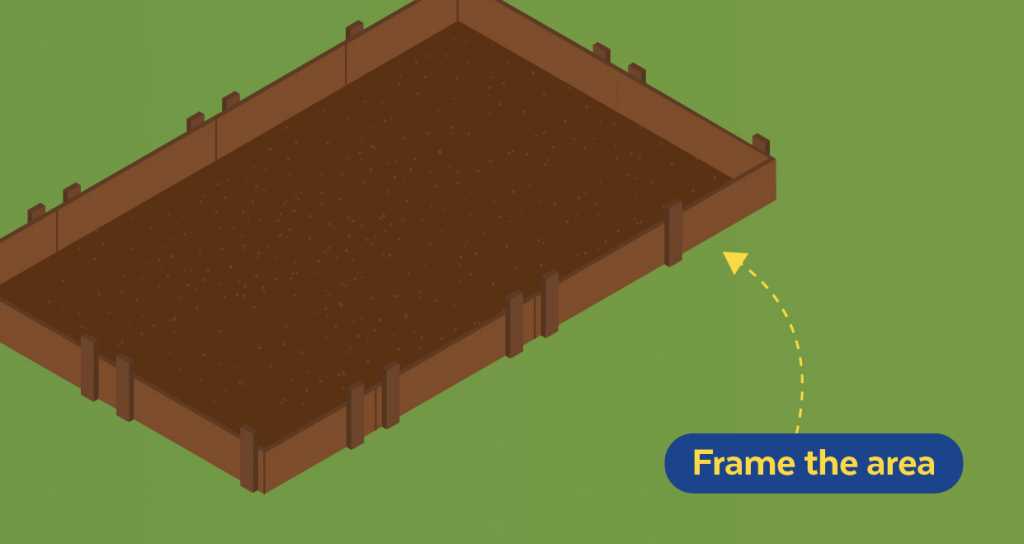
Next, it’s time to construct the frame where your concrete will be poured into. Remove the makeshift string markings and then use wooden boards to create a perimeter around the pour site, held in place by wooden stakes or pegs – this will contain the wet concrete while it’s setting. You may wish to use a builder’s set square to ensure the corners of your shed area are at accurate right angles. Also, take care to measure diagonally and along all sides to ensure you’re going to end up with the right size of base you’re looking for.
Pour the concrete:

A concrete mix for shed bases should be ordered ahead of time, and only when the frame is in place, as the mixture will need to be poured promptly – however, make sure to pour in layers, smoothing each layer as you go, until the mix reaches, or slightly overspills, the top of the frame. Companies such as EasyMix Concrete can provide on-site mixing systems as well as ready-mixed concrete, and will only charge for what you use. Your concrete supplier can assist you with getting the consistency right if you are unsure.
Smooth the concrete:
After each concrete layer is poured, spread the wet concrete evenly across the whole area before pouring the next layer. Using a long wooden board, smooth out the surface of the concrete mixture so it is well-distributed using an up-and-down sawing motion. Use a spirit level to ensure a completely even finish and remove any excess mix that overspills the frame. You may wish to gently tap the edges of your wooden frame with a hammer to knock out any air bubbles. Remember to work quickly but carefully before the concrete starts to set.
Allow the concrete to cure:
Lastly, it’s the waiting game. Curing refers to the time needed for the concrete to reach its optimum strength, as concrete hardens over time. Check with your concrete provider, but this process usually takes a couple of days. In the meantime, it’s important to keep the curing concrete slightly moist by placing a wet curing blanket on top or periodically spraying a fine mist of water. But don’t make it too damp, and be sure to cover with a plastic sheet in case rain strikes. Once it’s cured, you can remove the supporting timber frame to reveal your brand new concrete shed base.
How much concrete will I need for a shed base?
Companies such as EasyMix Concrete will only charge you for the exact amount of concrete you use, meaning you don’t need to worry about being overcharged. However, for your own convenience, it’s wise to roughly calculate how much mixture you may need. To calculate the amount of shed base concrete you will require, try our concrete calculator.
Searching for high-quality concrete for your next DIY project? Here at EasyMix Concrete, we serve homes and businesses across Hertfordshire, Bedfordshire and beyond with ready-mixed and volumetric concrete. You only pay for what you use, and our experts mix your concrete to your specifications, depending on your needs. To find out more, please contact our friendly team today.